
Updated 10/12/2025: SMART Windows Image updated to Windows 11 25H2
Automation plays a key role in modern device refurbishment. Reducing the time your technical team spends on each device directly lowers operational costs and increases throughput, giving you a clear competitive advantage.
SMART enables you to automate the Windows-specific stages of the refurbishment process. Using our custom Windows image and SMART client, you can:
- Install Windows
- Automatically install missing drivers
- Inject a Microsoft Authorised Refurbisher (MAR) Windows licence
- Shut down the device ready for resale
All with minimal technician input.
This guide walks you through setting up a SMART USB and explains how to use it to fully automate your Windows refurbishment workflow.
Requirements
Before you begin, ensure you have the following:
- USB drive (16 GB minimum)
- Rufus
- A Windows PC to prepare the USB
- SMART Windows Image (download below)
- Internet connection during key injection
Download SMART Windows Image (File size: 9.6 GB)
Setup
Step 1: Download SMART’s custom Windows image
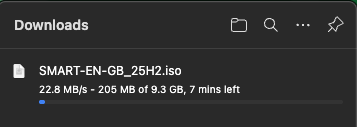
If you are already signed up to SMART, you can download the image using the link above.
If you are not yet a SMART customer, you can sign up and use the Windows image for free here:
Step 2: Write the SMART image to a USB using Rufus
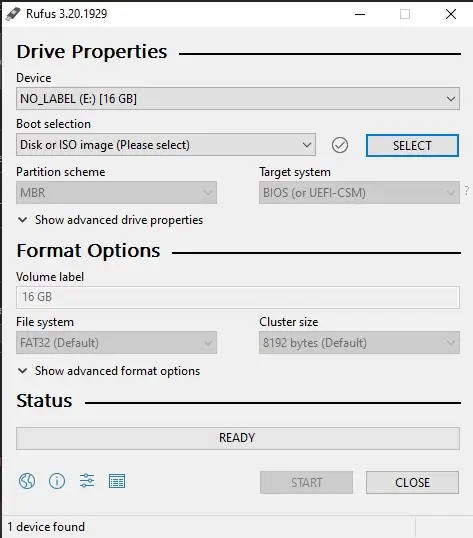
Use Rufus to write SMART’s custom Windows image to your USB drive.
Rufus is an open-source tool used to create bootable USBs from ISO images. You can follow the same process you would normally use for a standard Windows ISO, but select the SMART image instead.
Step 3: Create a folder called “SMART” on the USB
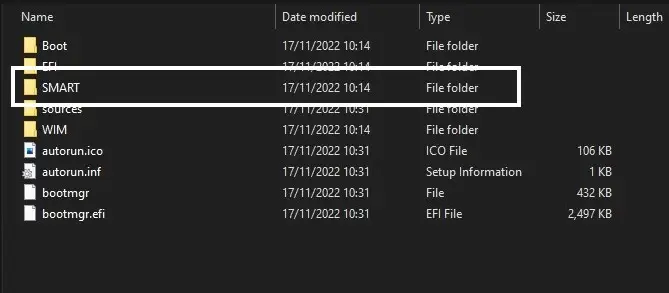
Once Rufus has completed:
- Open the USB drive
- Create a folder in the root of the USB
- Name the folder exactly SMART
The folder name must be SMART for the automation to work.
Step 4: Add the SMART client and authentication files
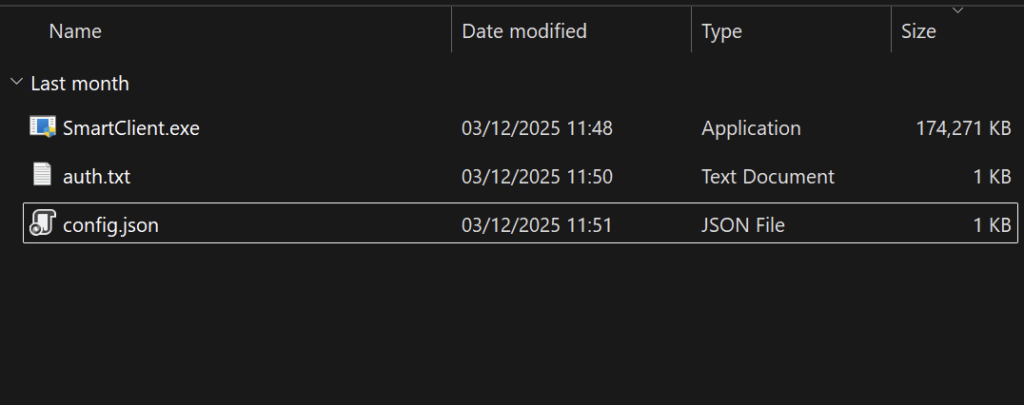
Copy the following files into the SMART folder:
- SmartClient.exe
- auth.txt (or the filename specified in config.json)
- Optional: config.json
Important notes:
- The SMART client must be named SmartClient.exe
- File names are case-sensitive
- The auth.txt file is used to authenticate the device against your SMART account
Windows Installation
Step 5: Boot the device from the USB
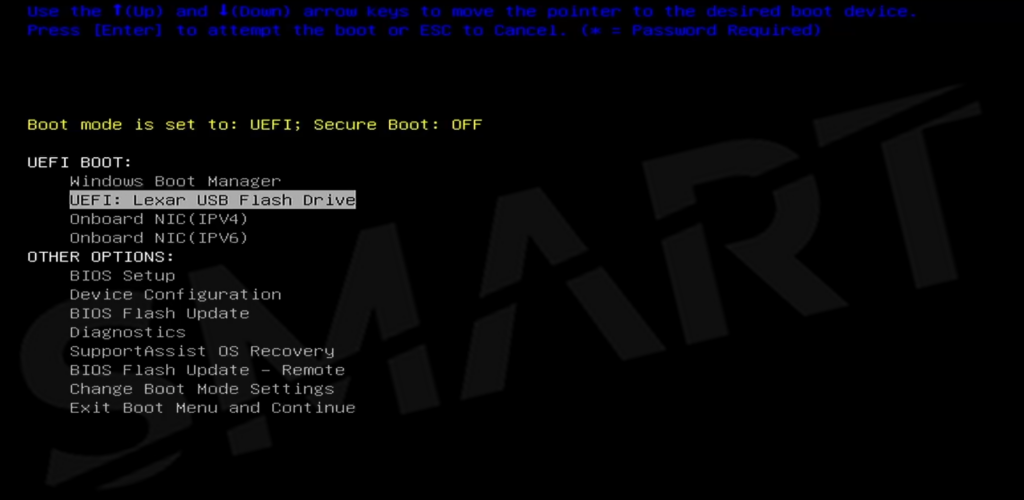
Boot the device you wish to refurbish from the prepared USB drive.
This will launch the SMART custom Windows installer.
Step 6: Install the Windows version of your choice
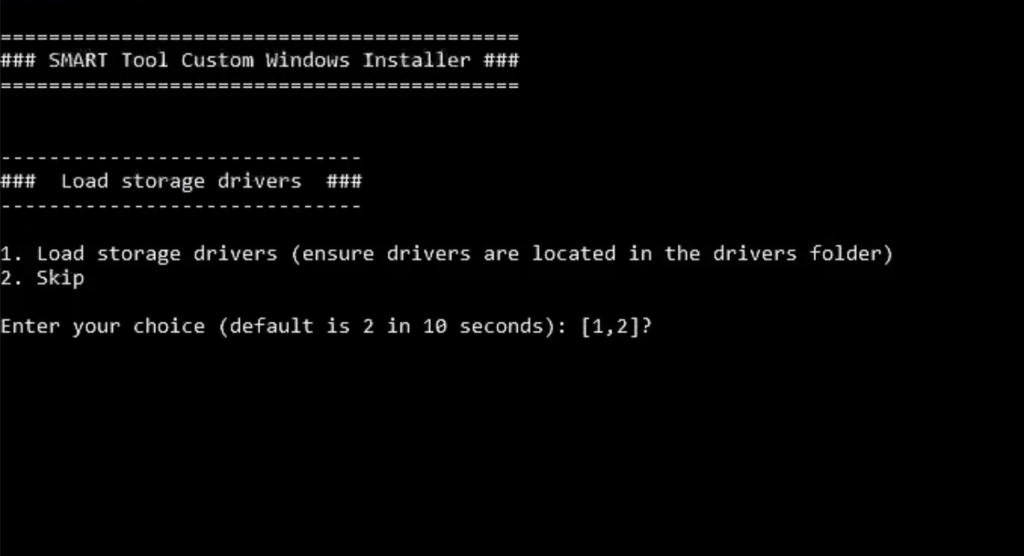
After booting into the installer, you will be prompted to load storage drivers.
Option 1: Load storage drivers
Select this option if:
- The device uses Intel VMD, Intel RST, RAID, or OEM-specific storage controllers
- The internal drive does not appear during Windows setup
- You have been provided with storage drivers by the OEM
Any required drivers must be placed in a drivers folder on the USB.
Option 2: Skip
Select this option for most standard systems where the internal SSD or NVMe drive is detected automatically.
If you skip this step and no disks appear later, restart the process and load the correct storage drivers.
You can choose to install Windows 10 or Windows 11.
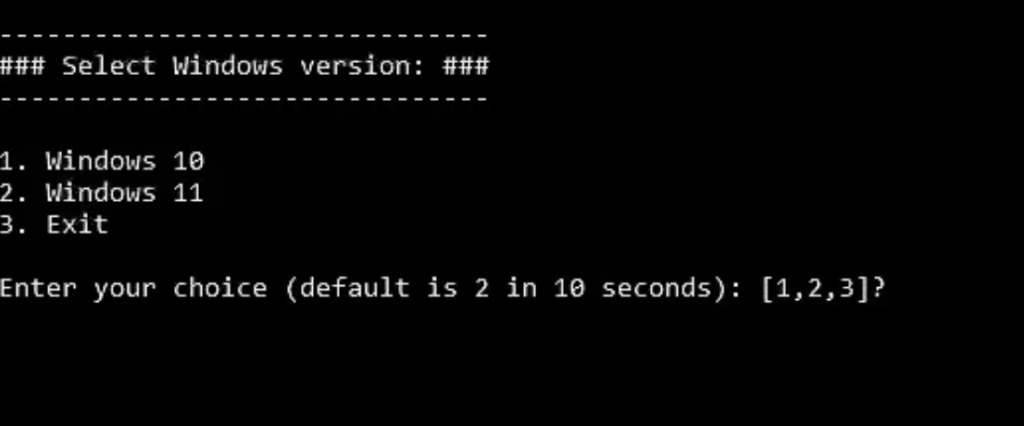
However, only Windows 11 is supported for MAR key injection and activation.
Next, select the specific Windows edition to install.
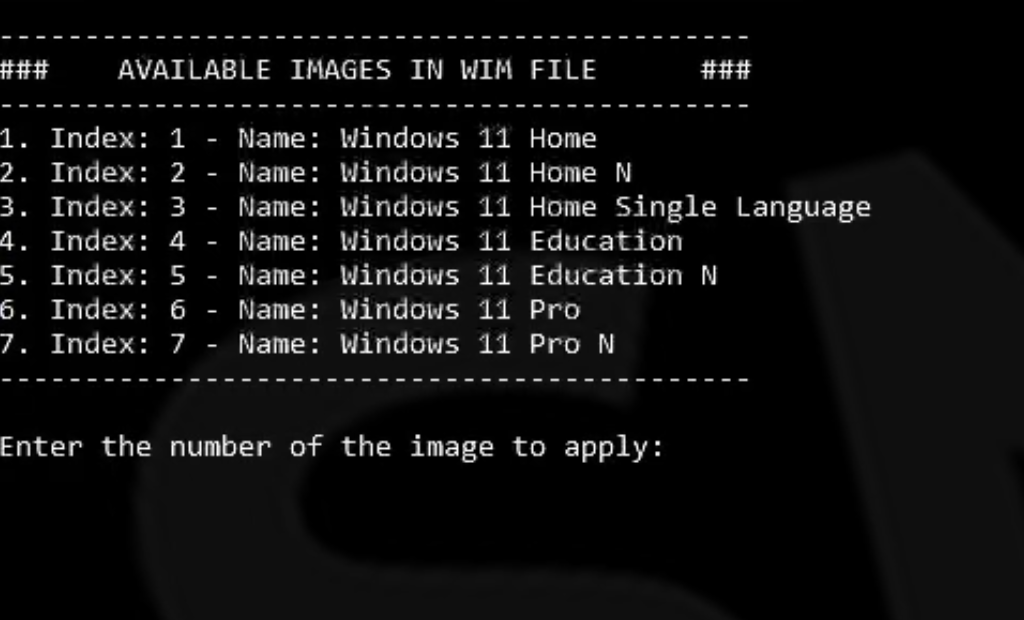
Only Windows 11 Home and Windows 11 Pro are supported for MAR key injection.
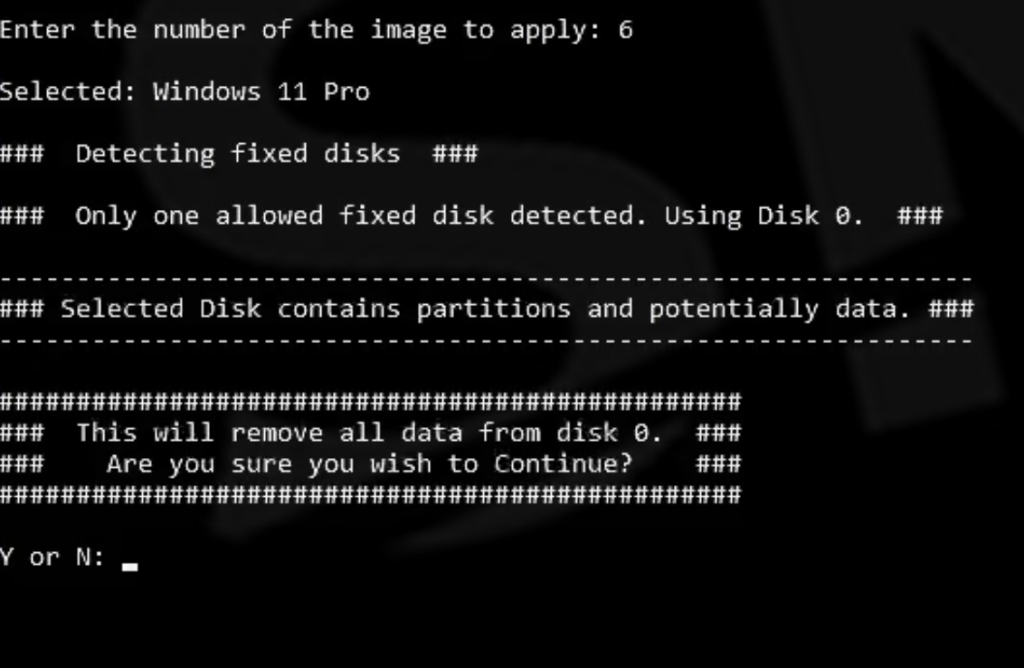
The installer will then:
- Detect available disks
- Prompt you to select the target disk if multiple disks are found
- Warn you if existing data is present on the selected disk
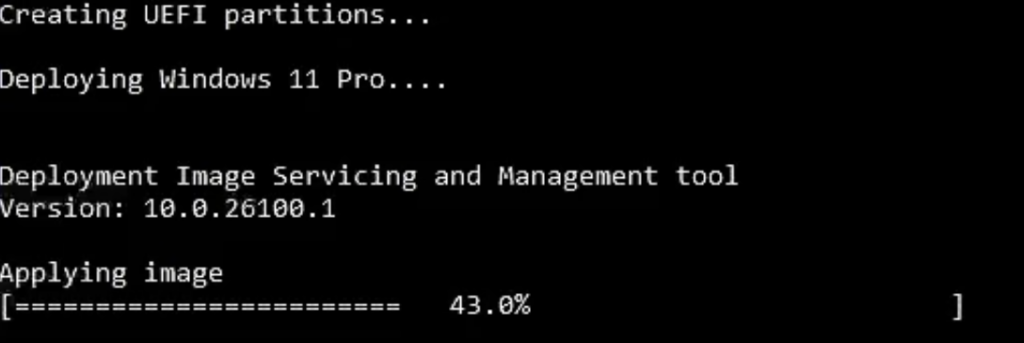
Once confirmed, the Windows image will deploy automatically.
Automatic reboot into Audit Mode
After installation completes, the system will automatically reboot into Audit Mode.

Audit Mode is required for SMART to install drivers, inject licences, and prepare the device for resale.
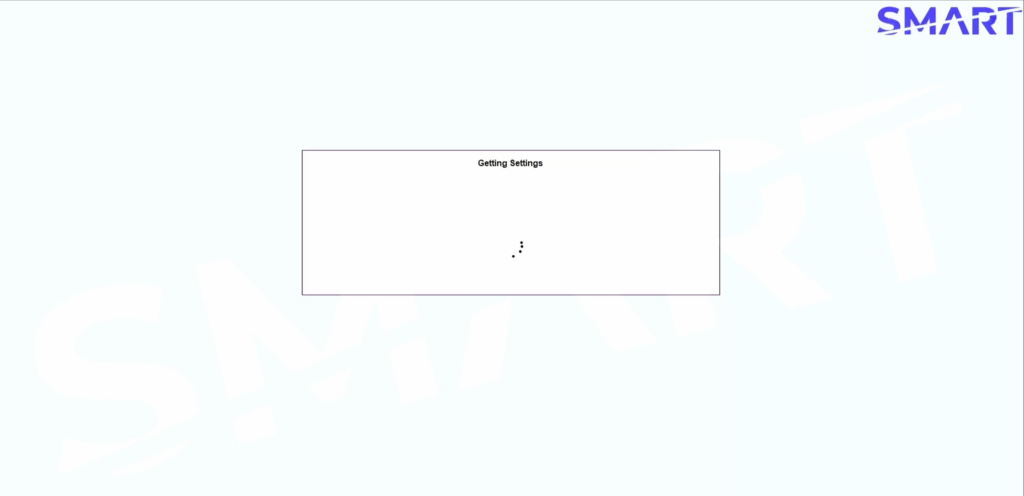
Once in Audit Mode, the SMART client will launch automatically.
Further Automation with SMART
At this stage, the SMART image has:
- Installed Windows
- Booted into Audit Mode
- Automatically launched the SMART client
With a paid SMART subscription (Essentials or Pro), you can fully automate the remaining steps with no technician input, including:
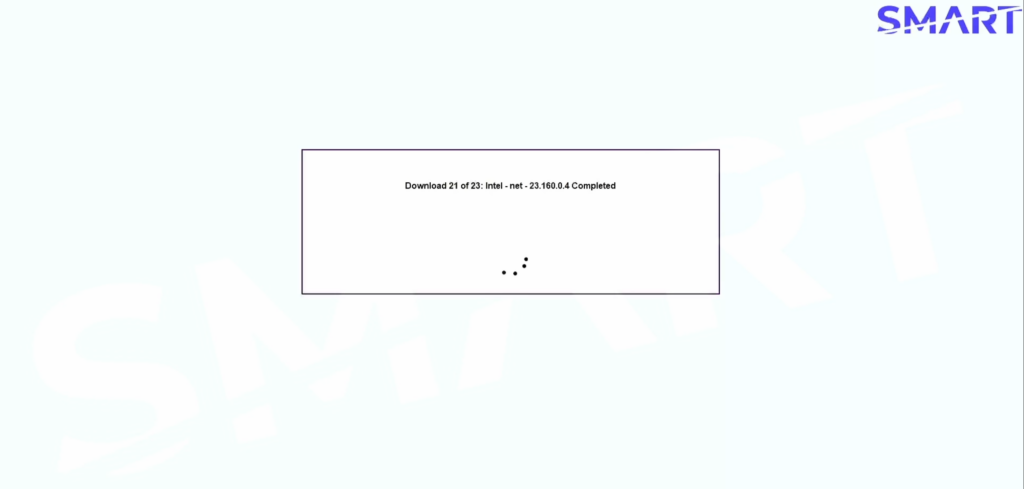
- Installing all missing drivers
- Injecting a Microsoft Authorised Refurbisher Windows key
- Running Sysprep and shutting down the device ready for OOBE
This delivers a highly automated workflow where Windows installation, driver deployment, licence injection, and shutdown are handled end-to-end by SMART.
Watch the full process here:
Advanced automation for large refurbishers
For high-volume refurbishers, SMART can support further automation by:
- Using PXE boot or network-based deployment
- Caching drivers on-prem for faster install
If you are looking to automate at scale, contact us to discuss advanced deployment options.