
In this tutorial, we will go through a simple process to create a Windows image with the Windows Media Creation tool.
When you refurbish PC, you need to add a Windows operating system onto the device after you wipe it. To add a Windows Operating System, you need to create a Windows image. This image is effectively a blank version of Windows which you can add to the device.
By the end of this article, you will be ready to add a Windows Image to a wiped device.
Step 1 Download the Windows 10 Installation Media
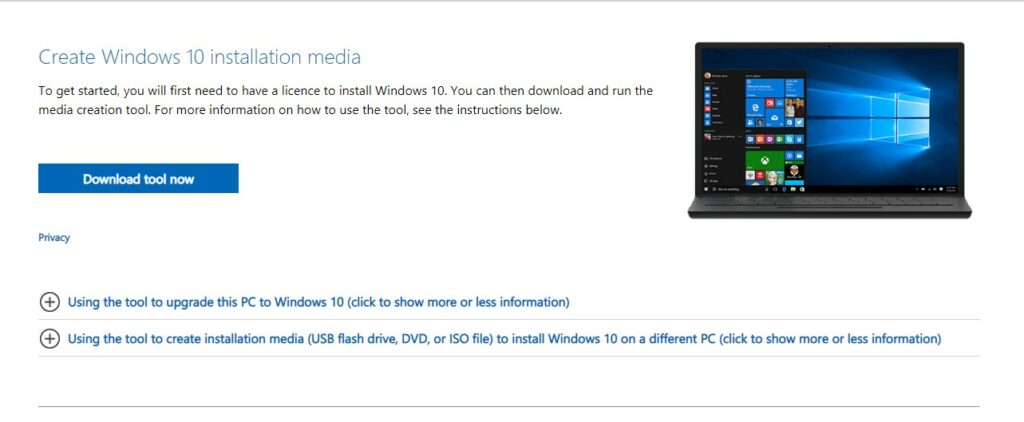
Go to the Microsoft’s Windows Media Tool site and click “Download the tool now”.
You can download the tool for Windows 10 and for Windows 11. The process is identical, but Windows 11 has different required specifications for the device.
Step 2 Run the Windows Media Creation Tool .exe
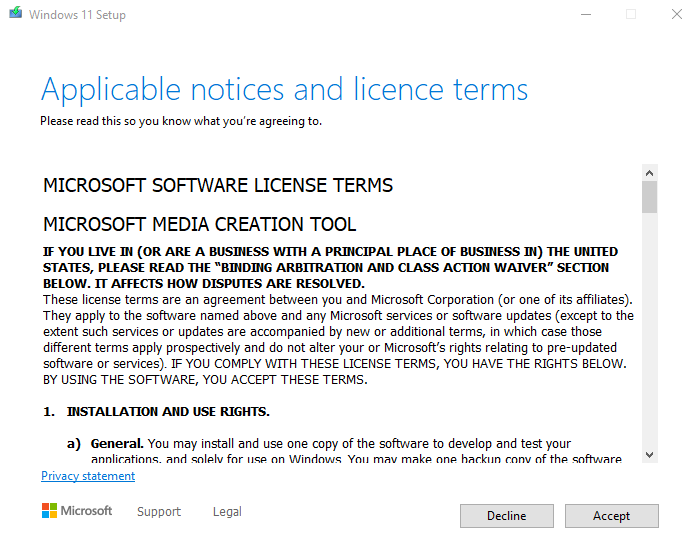
The media creation tool will download as a .exe file.
Run the file and accept the terms and conditions.
3. Choose to add the Image to a USB Drive

In this tutorial, we cover the simplest method which adds the Windows Image to a USB drive.
Choose “USB flash drive” and click “Next”.
When you inject the Windows Image, you will insert the USB into the device.
4. Select the Language and Edition
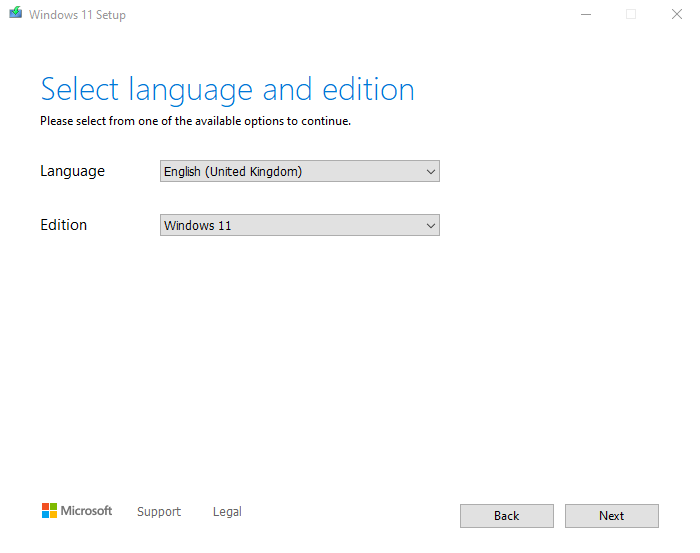
Choose the appropriate language and edition of Windows.
If you are going to sell this device, you may choose the language based off of the keyboard that the device has.
5. Choose the USB that you want your Image on
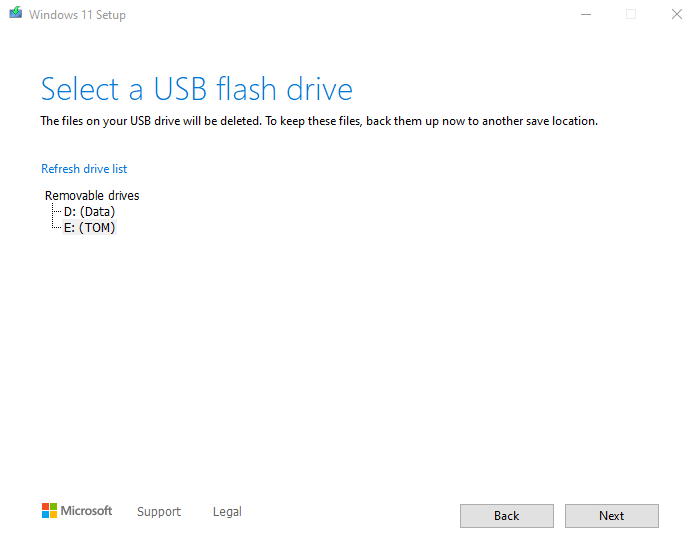
Insert a blank USB into the device that you are using.
The USB should be at least 8GB.
At this stage, choose the USB that you want to inject onto.
The USB in this example is named “TOM”.
6. Wait for the Image to be created
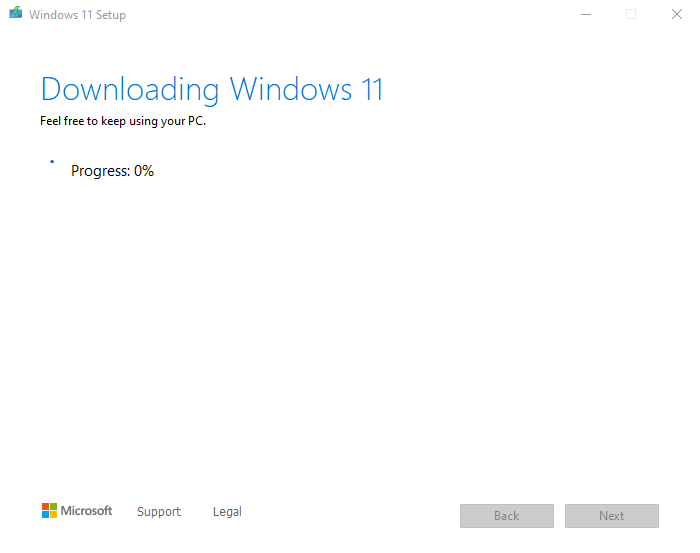
Now, you can wait while the Media Creation Tool creates the image.
This can take up to 5 minutes, but you will only need to create the image once.
7. Finish the Injection

On this screen, your image has been created and is ready to go on the device.
Once you press finish, the tool will clean up before it closes.
Your Image is Ready
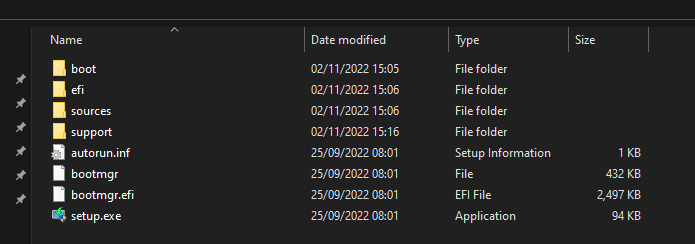
Congratulations, you have successfully added a bootable Windows Image a USB.
To add Windows to a device you have refurbished, you can boot the device on the USB and Windows will be added.
Add a MAR License
After you do this, all you will need to do is add a Microsoft Authorized Refurbisher key which ensures that the device has a compliant Windows license. Without this, the Windows image that you have injected does not have the associated license that it needs.
At SMART, we offer these keys. Today, you can sign up completely free of charge.